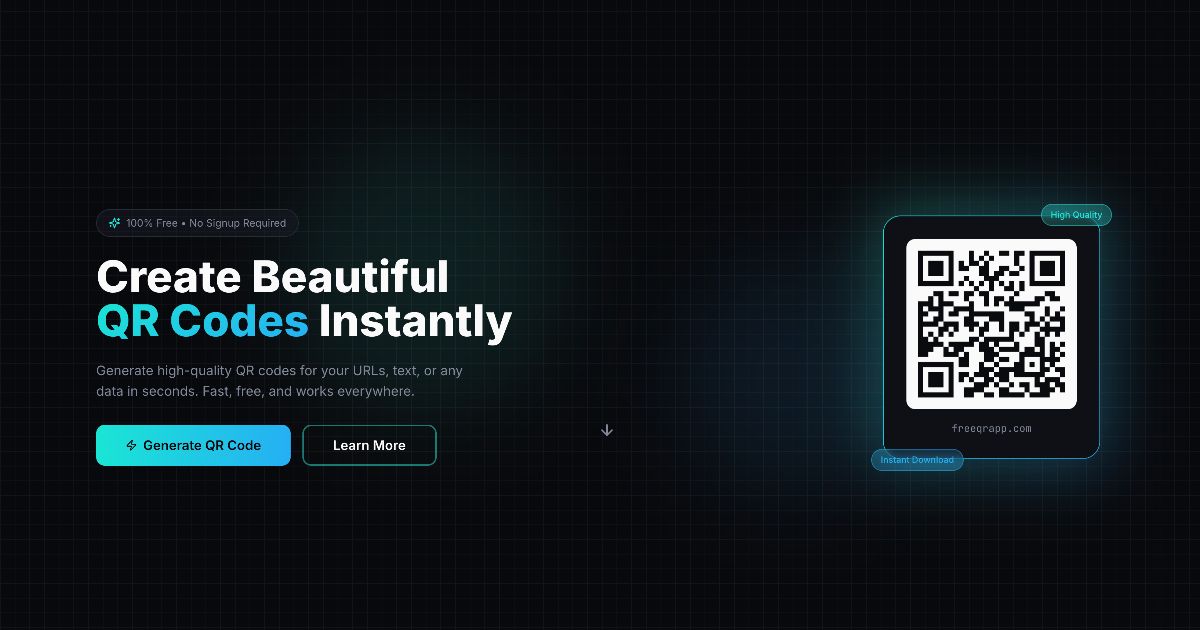
QR Code Best Practices
A QR code should scan quickly and reliably. Use these practical guidelines to maximize scan success. These best practices have evolved since QR codes were invented by Denso Wave in 1994, as designers and technologists discovered what works best in real-world applications.
1. Keep Strong Contrast
Use a dark foreground and light background. Low-contrast codes are the #1 reason scans fail. The original QR code specification established that the dark modules (squares) should have at least a 10:1 contrast ratio with the light background. Modern smartphone cameras and image processing algorithms are better at handling poor contrast than ever before, but maximum contrast remains essential for reliable scanning in all lighting conditions.
Pro Tip: If you’re designing a branded QR code with custom colors, test your contrast ratio using the WCAG contrast checker. Aim for a ratio of at least 4.5:1, though 7:1 or higher is ideal.
2. Preserve the Quiet Zone
Leave a clear margin around the code—at least 4 modules wide on all sides (roughly equal to the width of one data module). This blank area, called the “quiet zone” or “clear zone,” was critical to early QR code design and helps modern scanners locate the edges of the code and correct for perspective distortion.
Historical Context: The quiet zone requirement comes from the three position markers (the large squares in corners) in the QR code pattern. These markers help scanners identify which edge they’re looking at, but they need breathing room to work effectively.
3. Choose the Right Size
A common rule: the code should be at least 2–3 cm (0.8–1.2 in) wide for close-range scans. Increase size for distance. For a smartphone camera to resolve individual modules, each black or white square typically needs to be at least 2–3 pixels in the camera’s image. The relationship between physical size and scanning distance follows this formula:
- Close range (30 cm): 2–3 cm wide
- Medium range (1 meter): 5–8 cm wide
- Long range (3+ meters): 10+ cm wide
Best Practice: If your QR code will be scanned from variable distances, go slightly larger than the minimum. A 5–6 cm code scans reliably from most distances and lighting conditions.
4. Use Error Correction Wisely
QR codes support four levels of error correction, defined in the original 1994 specification:
- L (Low): ~7% error correction capability
- M (Medium): ~15% error correction capability
- Q (Quartile): ~25% error correction capability
- H (High): ~30% error correction capability
High error correction (Q or H) helps if you add a logo or expect wear. For simple URLs, M-level (medium) is often sufficient and creates a less dense code pattern. Using a higher error correction level than necessary makes the code denser and harder to scan, so choose the minimum level that meets your needs.
When to Use Each:
- L: Temporary codes in protected environments (flyers, digital screens)
- M: Most standard use cases (business cards, packaging)
- Q: Codes with logos or expected wear (outdoor signage, vehicle wraps)
- H: Critical applications (medical supplies, aerospace documentation)
5. Test on Real Devices
Always test with multiple phones and lighting conditions. A design that looks good on screen can still fail in print. Different smartphone cameras have varying sensor sizes, autofocus speeds, and image processing pipelines. Additionally, environmental factors matter:
- Lighting: Test in bright sunlight, indoor fluorescent light, and dim conditions
- Angles: Scan from multiple angles, including at an extreme tilt
- Distances: Test from close range and from several meters away
- Surfaces: If printing, test the actual material you’ll use
- Multiple devices: Test with both old and new phones, different brands
The QR code standard is robust enough to handle these variables, but real-world conditions are messier than controlled laboratory tests.
6. Don’t Overload the Data
Shorter data creates simpler patterns that scan faster. The more data you encode, the higher the version number (size) of the QR code, and the denser the pattern becomes. A QR code v1 (21×21 modules) can hold about 41 bytes of text, while a v40 code (177×177 modules) can hold 4,296 bytes.
Data Optimization:
- Use short links:
bit.lyor custom short URLs instead of full URLs - Avoid redundancy: Don’t include both a name and phone number if one suffices
- Consider the scanning context: What information does the user actually need at that moment?
A simple code (versions 1–10) scans faster and more reliably than a complex one, even though both technically contain valid data.
7. Avoid Busy Backgrounds
Place the code on a solid background or add a white backing to maintain contrast. When QR codes became popular in the mid-2000s, they were often printed directly on product packaging with busy patterns behind them. This led to many scanning failures. Modern best practice is to either:
- Print on a solid color background
- Add a white rectangle behind the code
- Create a “safe space” with a border and contrasting color
Why This Matters: QR code scanners work by finding the position markers and then reading the modules inside. If the background has similar contrast to the code itself, the scanner can’t distinguish data from background.
8. Consider QR Code Versions and Capacity
The original QR code spec supports 40 versions, from 21×21 modules (v1) to 177×177 modules (v40). Choosing the right version balances readability with data capacity:
- Versions 1–5: Ideal for short data, high scannability
- Versions 6–15: Good for typical URLs and contact info
- Versions 16–25: For longer text or binary data
- Versions 26–40: Rarely needed for most applications
Letting your QR code generator choose the version automatically is usually fine, but manually selecting a lower version if your data fits can improve scan speed.
9. Optimize for Mobile Scanning
Since the rise of smartphones in the late 2000s, mobile scanning has become the dominant use case. Keep these principles in mind:
- Angle compensation: Modern phones can read slightly tilted codes (up to 30°), so don’t stress about perfect alignment
- Distance tolerance: Most modern phones focus from 10 cm to several meters away, so size your code accordingly
- Color modes: While you can customize colors, grayscale codes are still the most reliable
- Logo placement: If using a logo, place it dead-center and don’t let it obscure any position markers
10. Document Your QR Codes
From a best-practices standpoint, include context where possible:
- Near the code: A small label like “Scan for more info” helps users understand what to expect
- Alternative text: If the code fails to scan, provide a URL or contact info as a fallback
- Tracking: Use different QR codes or URL parameters to track which physical location generates the most scans
Evolution of QR Code Best Practices
The principles we follow today have evolved significantly since Denso Wave’s 1994 invention. In the early 2000s, QR codes were primarily used in industrial manufacturing and logistics. Best practices then focused on durability and reliability in harsh environments.
With the smartphone boom of 2008 onwards, the emphasis shifted to mobile scanning. Modern best practices now account for:
- Variable camera quality across devices
- Real-world lighting conditions (not laboratory settings)
- User behavior (quick scans, not careful alignment)
- Branding and aesthetic customization
Despite these changes, the fundamental principles remain: maximize contrast, minimize data complexity, preserve the quiet zone, and test thoroughly.